
Creating and editing a news story
Create and publish your school’s news stories with Pressburst and share them with the association and partner websites available to your school.
Create a new story
Open News and select Stories.
From the Stories page, click Add Story and select the school you are publishing the story for.
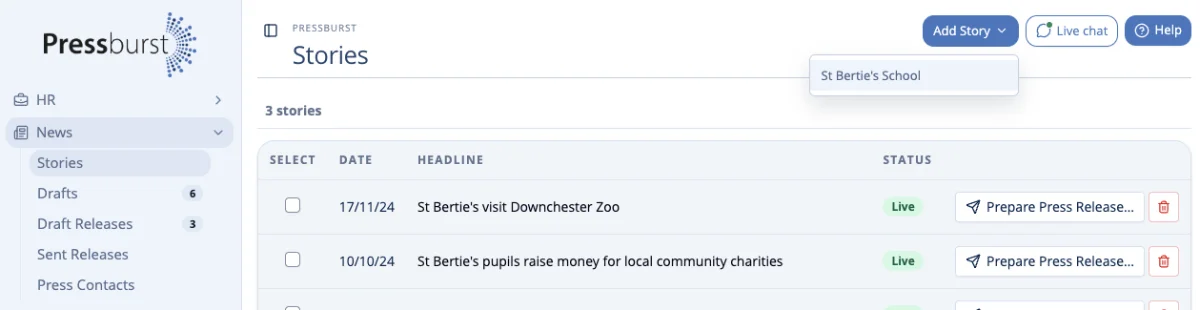
Pressburst opens a new story form where you can create your story and preview how it will appear when published.
You can write the story yourself or use Story Builder to help create a first draft.
For more information, see Creating a story with Story Builder.
The story form
The story form brings the content and publishing options for your news story together on one page.
As you work, changes are saved automatically and the Live Preview (on right hand side of the form) shows how the story will appear.
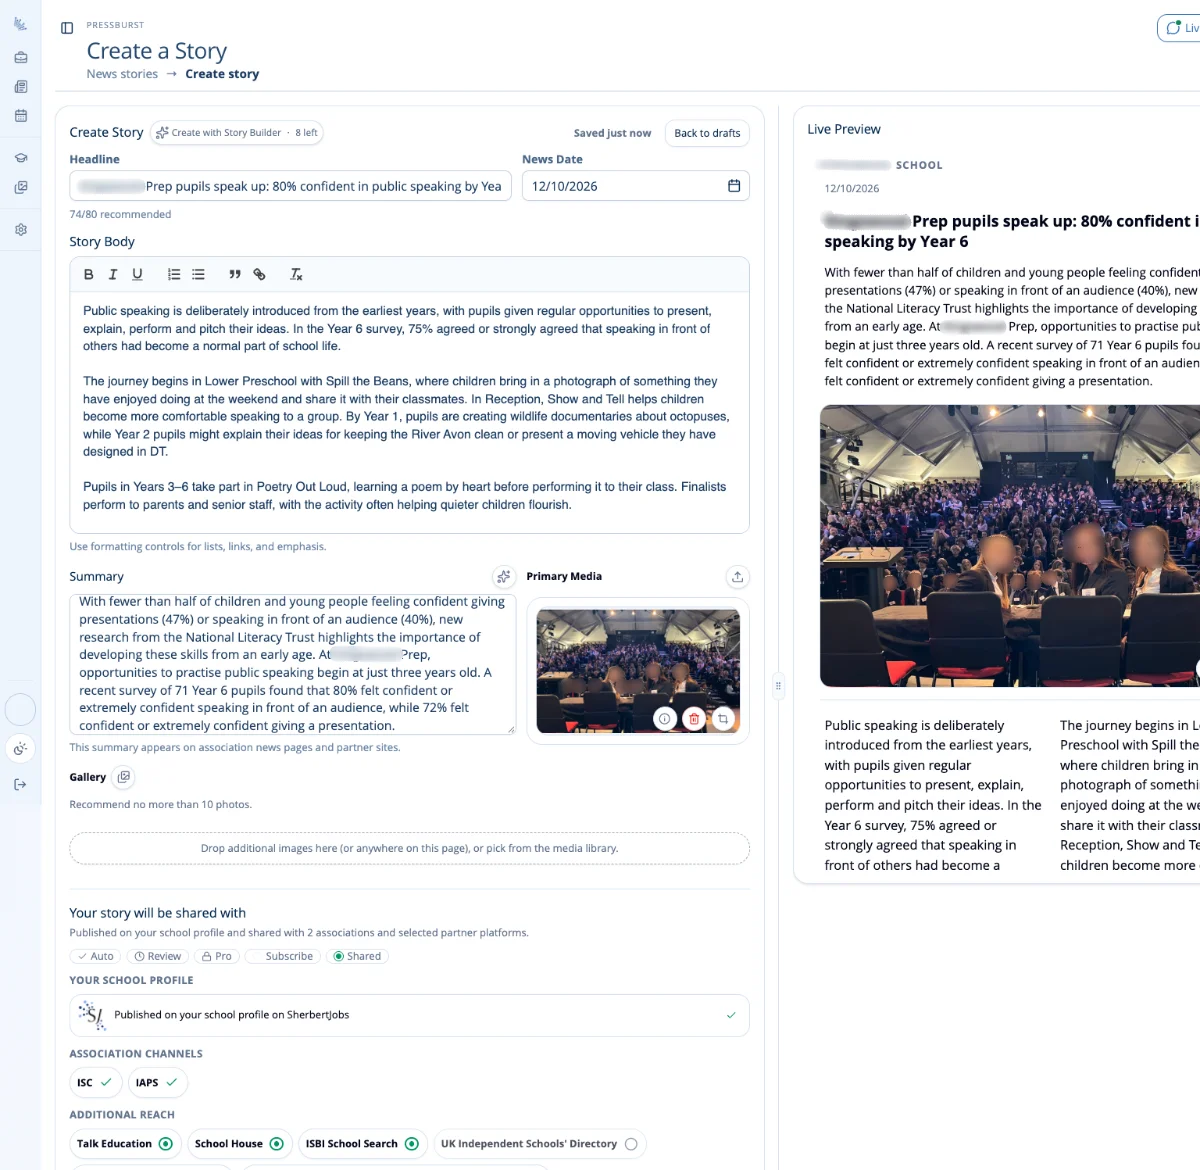
Headline and story
Add a clear and engaging Headline that tells readers what the story is about.
Enter or paste the main content into the Story field.
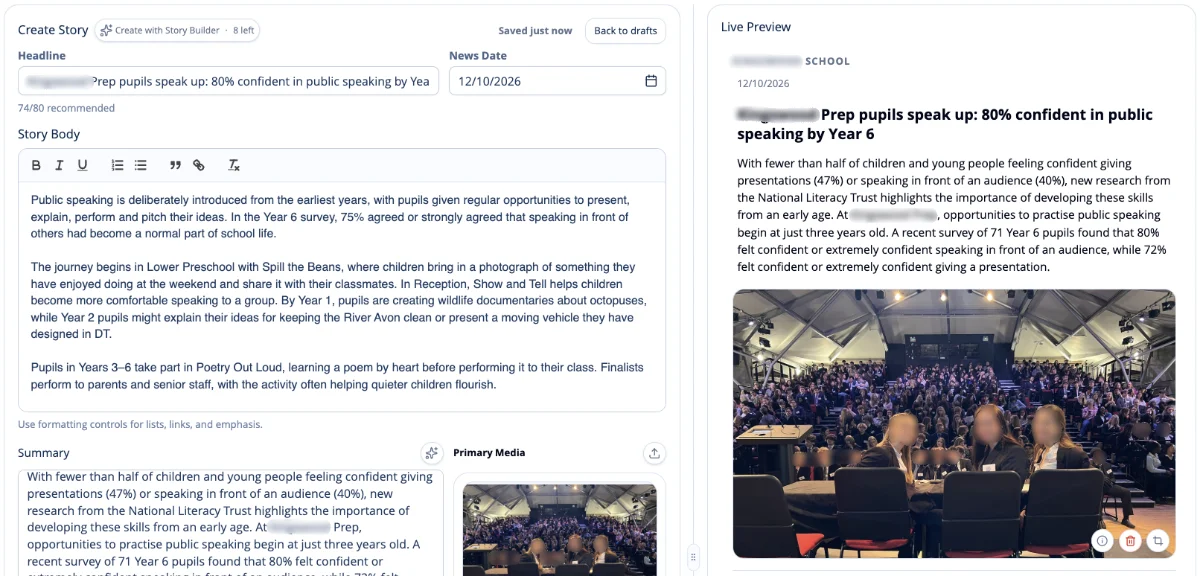
Use the formatting tools to structure your story with paragraphs, headings, lists, links and other formatting where appropriate.
Pressburst also includes AI writing tools that can help you rewrite an existing story.
See AI writing tools for news for more information.
Live Preview
The Live Preview - on right hand side of the form - updates as you work so you can see how the finished story will appear before publishing it.
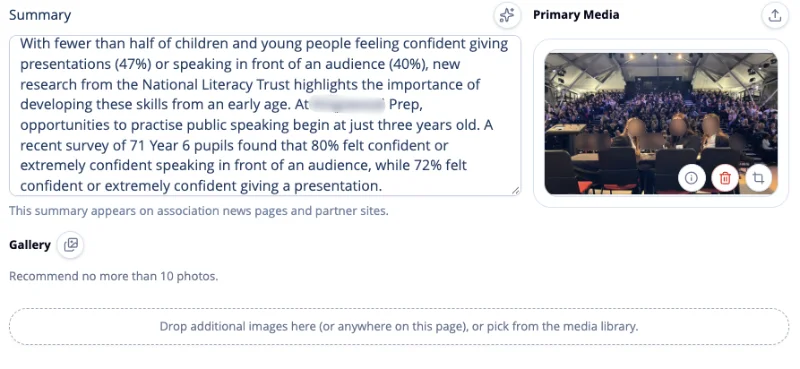
Summary
Add a short summary that introduces the story.
The summary can be used by Pressburst and its distribution partners where a shorter version of the story is required.
Pressburst can also create a suggested summary from your story using Summary Writer.
Story details
Complete the additional information for your story.
Depending on the story, this can include its publication date and other information used to classify or display the story.
Check these details carefully before publishing.
Add images
Add an image to accompany your story.
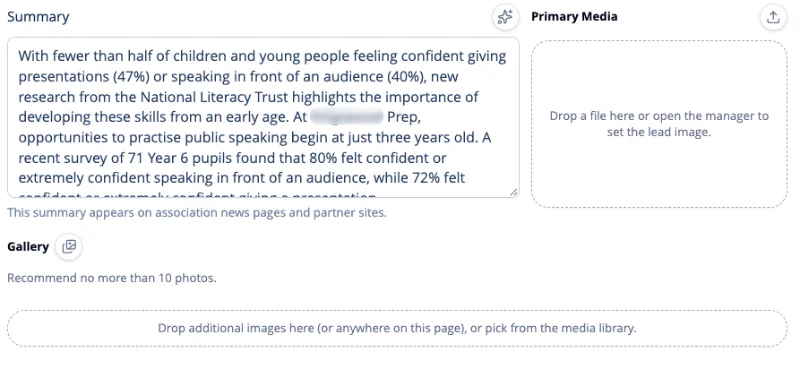
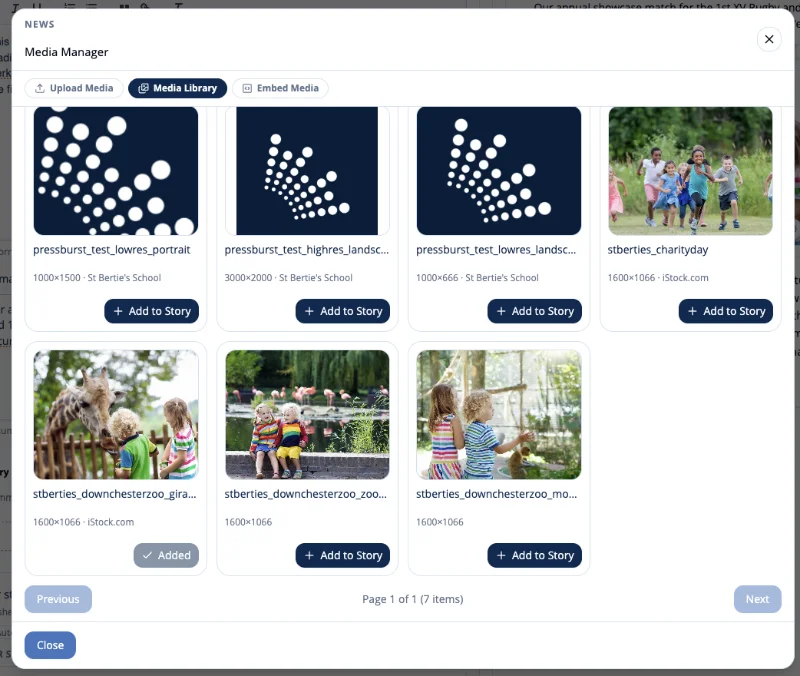
Choose an appropriate image that supports the story and represents your school well.
Where available, you can select an existing image from your Pressburst media or upload a new one.
Distribution
The Distribution section shows where Pressburst can share your story.
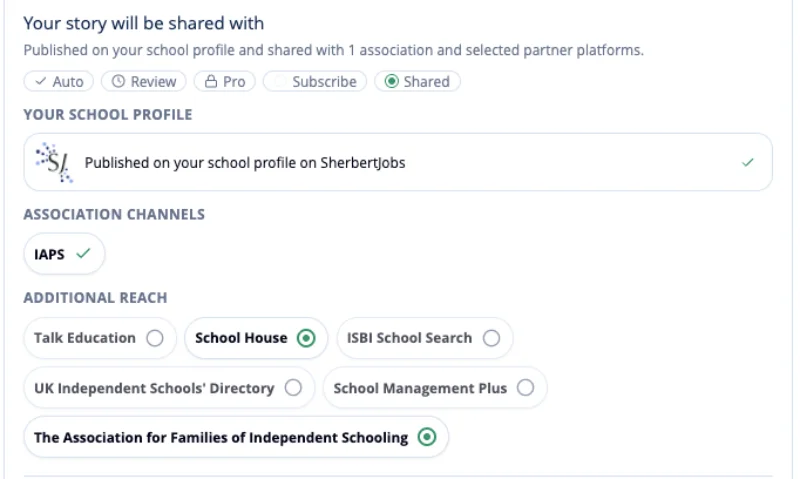
Available destinations depend on your school’s memberships, Pressburst plan and connected partners.
These can include your school’s eligible membership association websites and other Pressburst news partners.
Publish the story
When you have completed your story, check the Live Preview and review the distribution options.
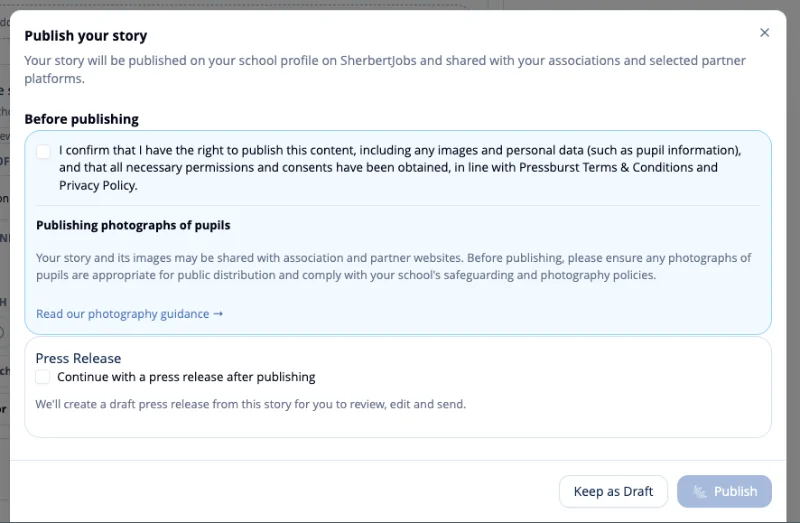
Select Publish to open the publishing confirmation.
Before publishing
Before publishing your story, you must confirm that:
- You have the right to publish the content, including any photographs and personal information.
- All necessary permissions and consents have been obtained.
- The content complies with your school’s safeguarding and photography policies.
Continue with a press release
If your school has a Pressburst Pro subscription, you can select Continue with a press release after publishing.
Once your story has been published, Pressburst will create a draft press release for you to review and send to your media contacts.
For more information, see Creating a press release.
Complete publishing
Once you have confirmed the necessary permissions and selected any additional options, select Publish to publish your story.
If your story isn’t ready, select Keep as Draft to save it for later.
Edit a published story
You can return to a published story at any time to correct information, update content or add new details.
Open News and select Stories, then select the story you want to edit.
The editing screen uses the same story form and Live Preview as the creation workflow.
Make your changes and review the updated story.
Save your changes
Once a story has been published, the publishing controls change.
Instead of the Publish button, you’ll see Save Changes and Create a Press Release.
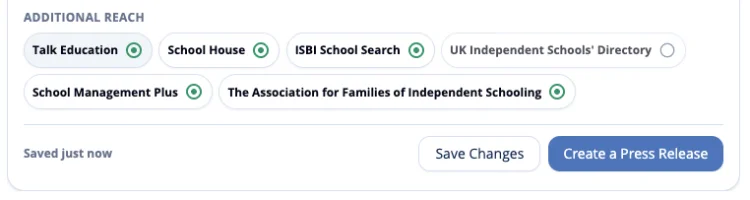
Pressburst automatically saves your changes as you work. You can also select Save Changes to save your updates.
Create a press release
If your school has a Pressburst Pro subscription, you can also create a press release directly from your published story.
Select Create a Press Release to use the story as the starting point for a new draft press release.
You can then review and edit the release before selecting your press contacts and sending it.
For more information, see Creating a press release.